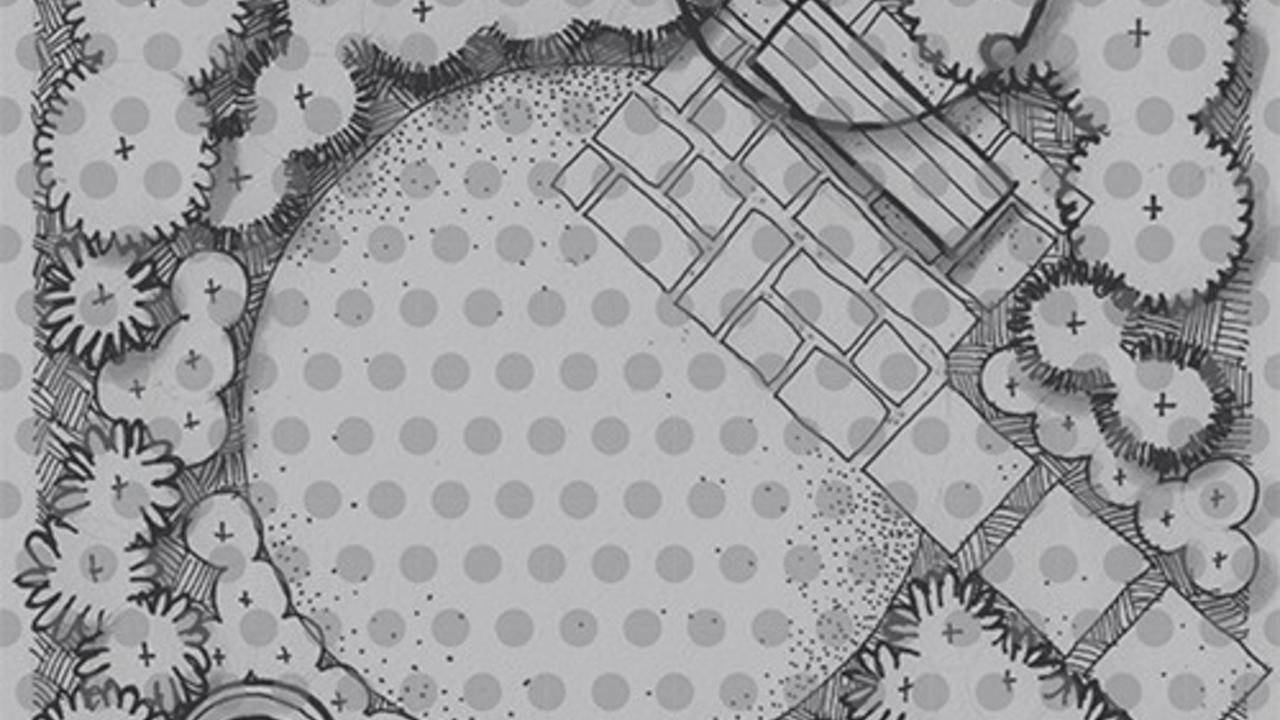
Editing a Landscape Plan in Photoshop

l love hand-drawing my landscape plans when time allows, but using pen with a dash of color pencil or marker adds a slight bit of nervousness. If your marker slips or your pen smudges, all that tedious work can quickly come to a depressing halt. Or does it?
Many years ago I decided it was time to learn Photoshop so I could erase my mistakes and fears of messing up...and it's been fabulous. I'm definitely not a Photoshop pro, but I enjoy that it gives me freedom to hand-draw with the added bonus of digital editing.

I now teach this program to my students as a first step in preparing their landscape plans for final presentations (if they choose to focus on hand-drawn plans). A typical process might include preparing a black and white plan, scanning it in, cleaning it up in Photoshop, then pulling the edited plan into Illustrator for labeling, title blocks, plus additional images as needed. The final plan is then printed and rendered (by hand) in color.
The video below is one I share with my students on how to simply clean up a landscape plan in Photoshop. My next post will show how to pull this edited drawing into Illustrator.
For those that prefer to read step-by-step instructions on how to edit your drawings in Photoshop, feel free to download the .pdf below. Here is also a nice collection of Photoshop tutorials on the Adobe website.
HOW TO EDIT A HAND-DRAWN LANDSCAPE PLAN (WRITTEN GUIDE)
Would you like to label your newly edited plan in Illustrator now? Find out more here.


