Tools to Draw Your Landscape Plans
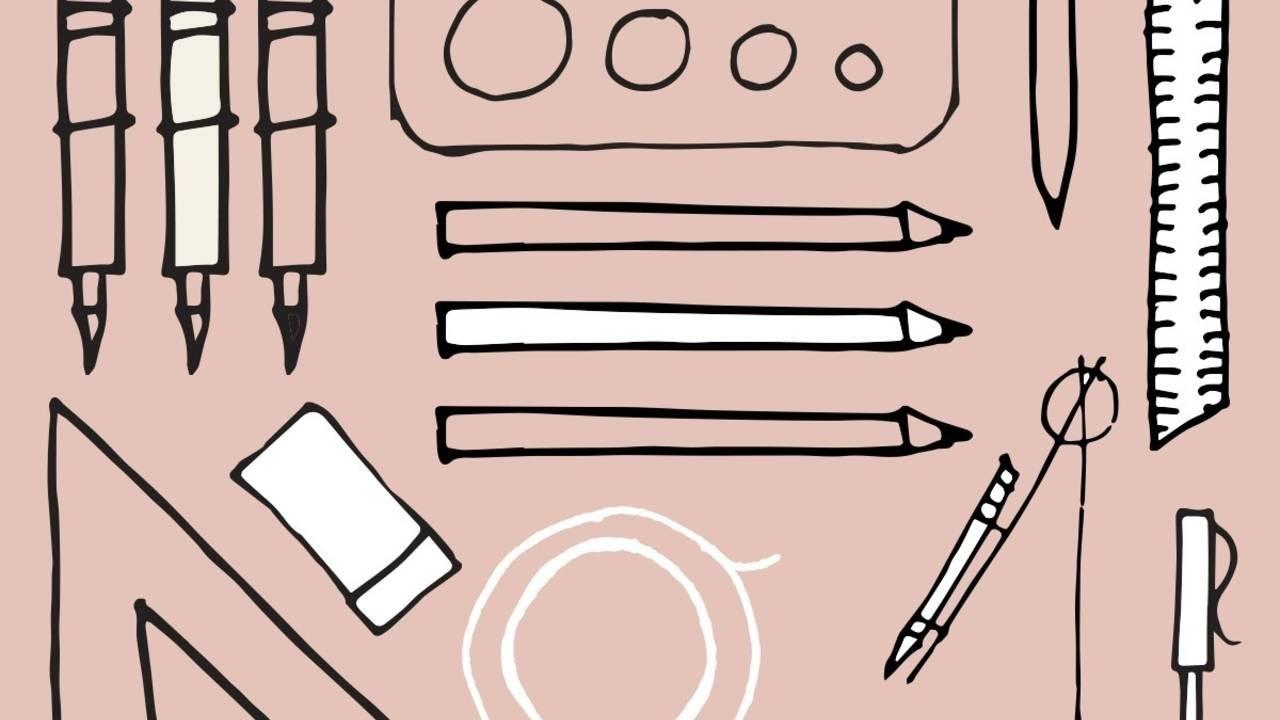
Each year I provide a suggested list of supplies to my students for our fall landscape graphics course. This list is often accompanied by questions of what some of these items look like, so they can find them in the store. I’ve been wanting to create a graphic to accompany this list for years, so finally took the time to do it.

SUPPLY NOTES
Ames Lettering Guide: If you enjoy hand-lettering this handy tool draws the guidelines for you at the correct height. This is a popular tool not only in the drafting professions, but also calligraphy and cartooning. Click here for a video I found on how to use it.
Architect's Scale: These are used to draw your plan to scale. We mostly use architect's scales in my courses since we do residential-scale plans. When I was in the landscape architecture department as a student we mostly used engineer scales, since the scale of our sites were often larger. Architect's scales are also used for construction detail drawings.
Color Pencils: I often limit my students to 3-5 colors, since they can blend these to create more colors. Click here for a post I wrote on rendering plant symbols with color pencil.
Circle Template: I use these to create plants in plan view. I have several sizes of templates to provide a wide range of circles.
Drafting Compass: This allows you to make larger circles (that may not be found on a template) and larger sweeping curves. Though I don't list it in this post some people also enjoy using a flexible curve to create bedlines.
Drafting Tape: This tape is not overly sticky so it can hold your drawing in place, yet be pulled up easily so as not to rip your paper. Drafting dots are fun to use too.
Fine Point Sharpie: A great pen to make thick lines. Fabulous for buildings, property lines and larger canopy trees.
Hard Lead Pencil: Hard lead draws a light line, which is wonderful when you are creating guidelines and creating initial sketches. When you go over these lines later with pen, you shouldn't have to erase the original pencil lines. Try a 3H to 6H pencil.
Ink Pens: I use a variety of thicknesses so I can achieve different line weights. You can start with a set, but you may find your final collection is a mix of different brands. Click here for a post I wrote on the pens I use.
45 & 30/60 Degree Triangles: Triangles, when paired up with a t-square, allow you to draw angles with ease, plus you can use them as a simple straight edge too.
Markers: I often limit my students to around 5 colors, so their design is focused. Click here for a post I wrote on marker swatch sheets.
T-Square: A t-square lays on your table with the end lined up along the edge of it. A t-square allows you to create straight parallel lines easily. When you pair up a triangle with a t-square you can also create 90, 60, 45, and 30 degree angles easily on a plan.
Vellum Paper: This is a higher quality paper that you can see through.
White Eraser: I have found that white erasers work the best for me since they don't leave any color residue.